Special thanks to Scott Baker and Wade Chamberlin for the plans and diagrams for the body buck. I used their instructions and photos extensively to help put together the body buck. I ended up using 92" 2X4s versus the 8' (96") 2X4s since they were a little cheaper. The overall length still remained 8".
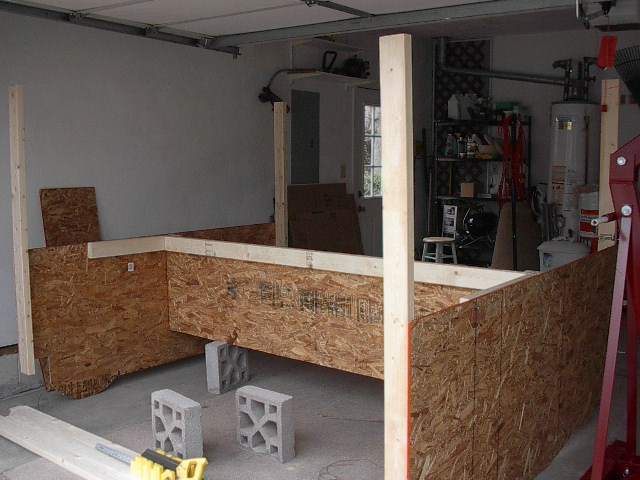
I fortunately had cinder blocks that were the perfect height and used them to help support the cross member as I nailed the sides together.
One of the best tools that I had in my inventory was the one handed wood clamp from Sears. It's one of those things that operates like a vise-grip. It really came in handy when trying to attached the cross member 2X4s.
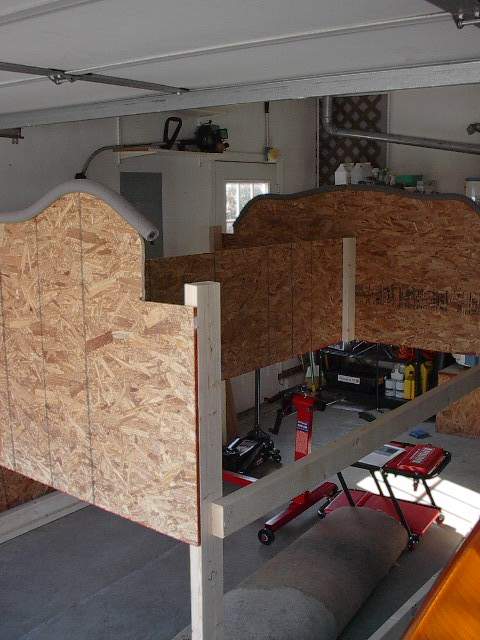
I later attached small pieces of the plywood to the bottom of the legs so that I could attach the wheels to it. I decided against having the bottom 2X4 attached because it would have made the buck stand too tall in my garage and wouldn't clear my door. Also in compensating for the height of the wheels, I had to lower the body buck along the vertical 2X4s by 2". You can see this by the way the 2X4s extend past the top of the plywood frames. I used only 2" wheels since my garage floor and driveway are pretty smooth.