Aluminum Installation
Back to Main Pictures Page
Home
Aluminum Floor Panels
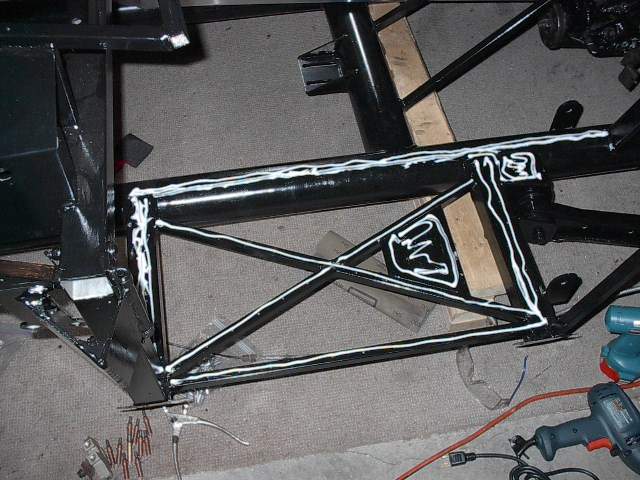
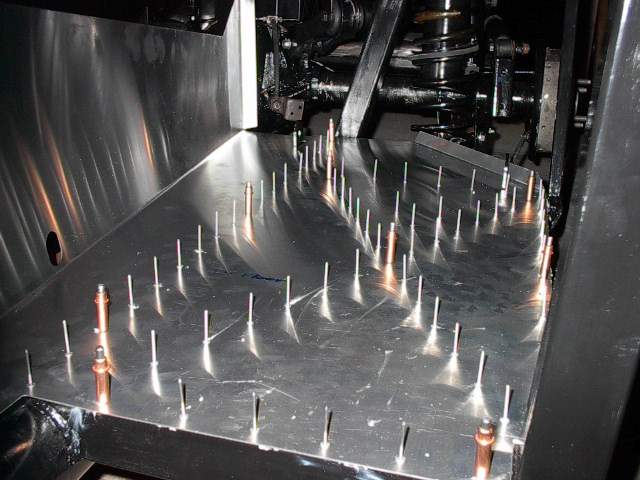
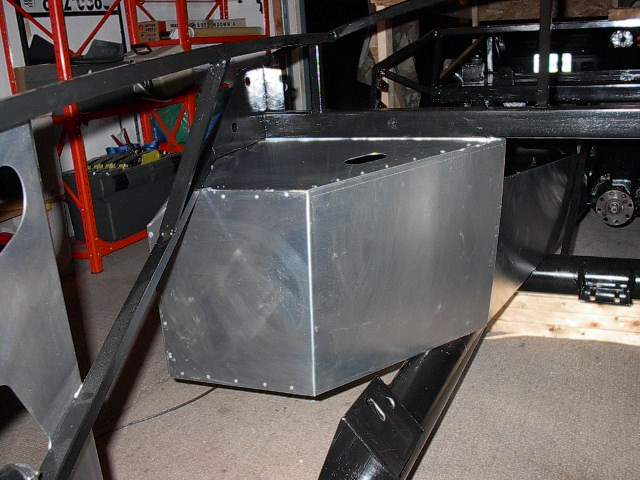
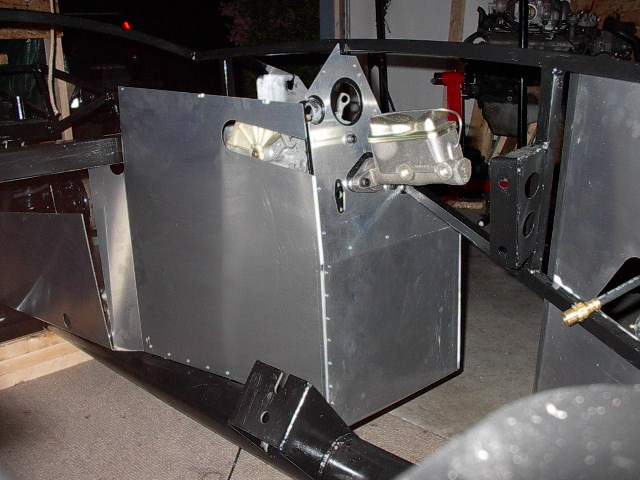
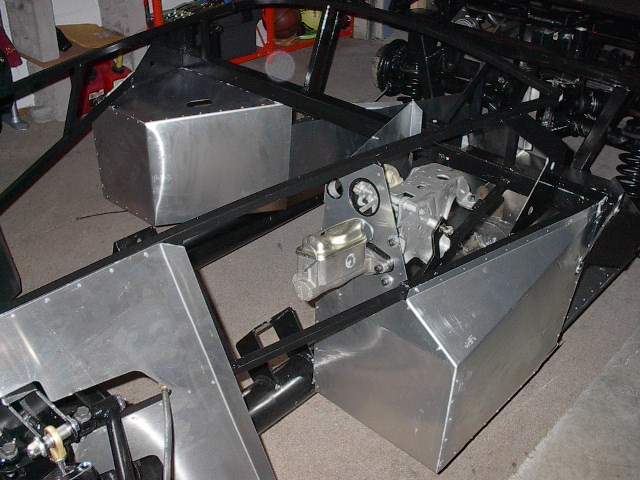
Started off by first test fitting the aluminum pieces and marking them with a permanent marker.  I took the aluminum panels off and marked the holes.  I then drilled the holes into the aluminum and placed the panels back on the frame.  I then drilled through the holes into the frame.  I removed the aluminum again (and cleaned off the debris)  so I could lay down the silicone.  After placing the aluminum back on the frame I then used my trusty air rivetoer to rivet the aluminum.
The cleckos really come in handy when you do any of the aluminum installation!
This is the completed driver's floor. 
Footboxes
The passenger footbox went in without much of a fight.  It fit a lot better then I expected after reading how everyone had to bend, cut, and modify theirs to make it work.

NOTE:  One recommendation for anyone at this point in the build is to test fit the ENTIRE footbox with the floor to see how everything fits together.  If you don't, you may find that the floor will not meet up nicely with the inside of the box.     
Before you start the passenger side floor see the note below to prevent any problems.