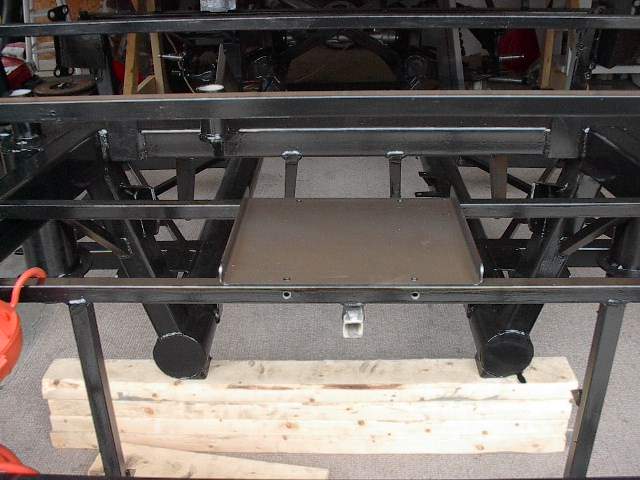
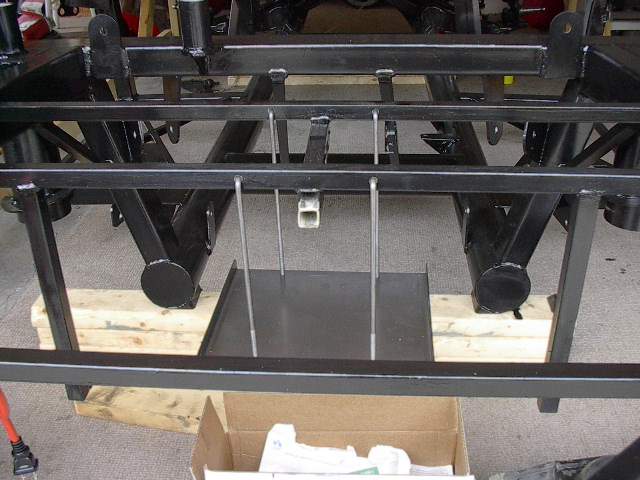
This is probably one of the easiest steps of the build. Start by laying the battery tray on the 3/4" tubes of the trunk so that you can mark where you need to drill the holes on the tube. Drill the holes into the tubing so the holes are on the side facing the rear of the car. You can now install the battery!
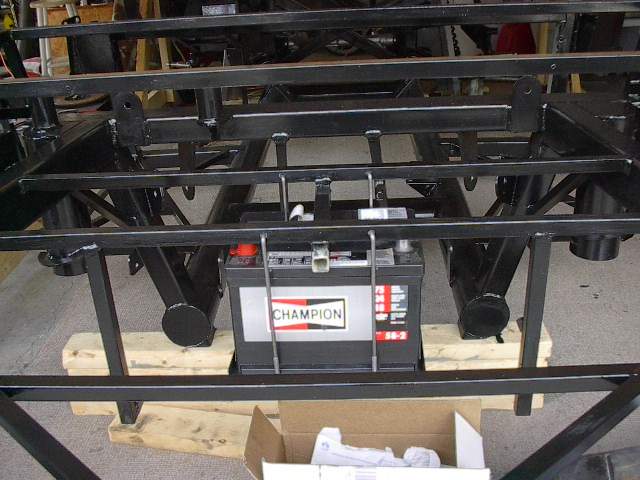
I would recommend that you paint the battery tray or spray it with clear coat because it will start to rust within a few weeks. Trust me, I had to remove the battery and paint the tray since it started to rust after I installed it.
This is the completed battery installation.
Battery Tray Installation
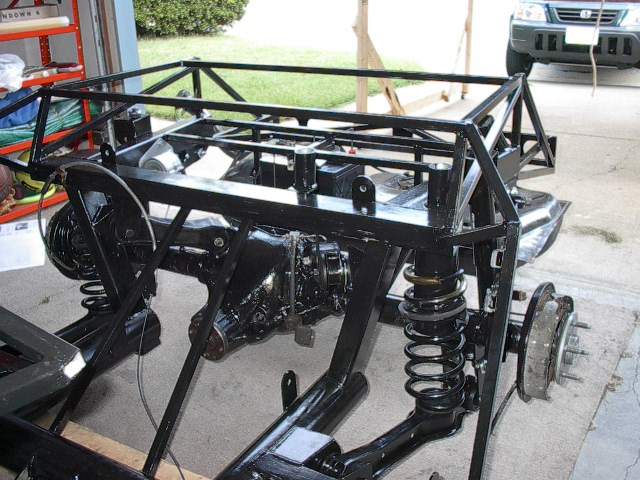
Rear end Installation
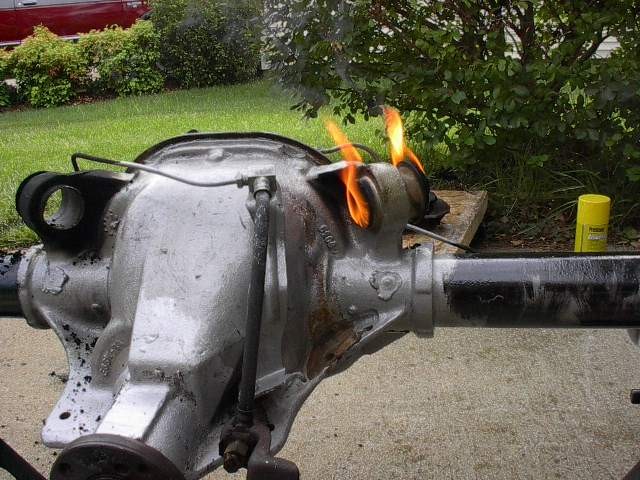
I thought that this was a cool picture of the bushings on fire! I used my propane torch to heat up the bushings so that I could install the Energy Suspension bushings.
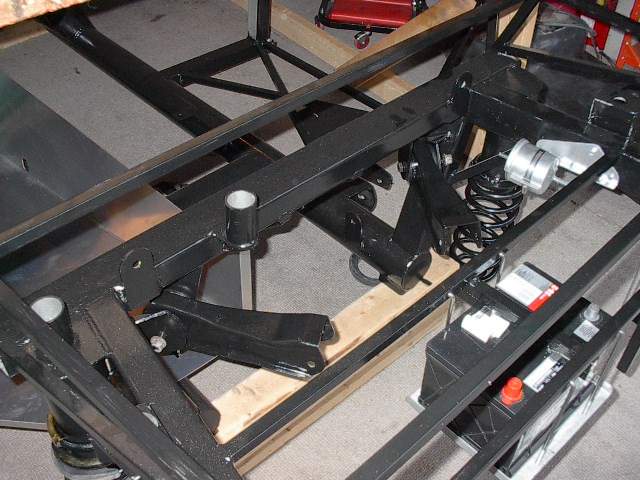
Instead of mounting the upper control arms on the rearend first, I tried to mount them to the frame. This didn't work out that well. I would recommend just putting them on the rear end first and then attach them to the frame (like the manual says!)
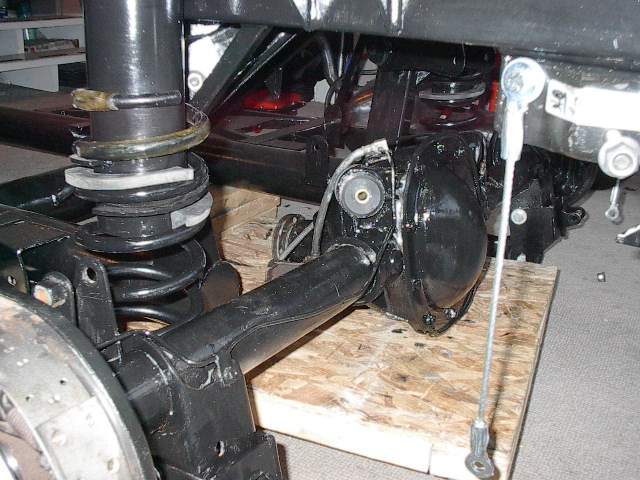
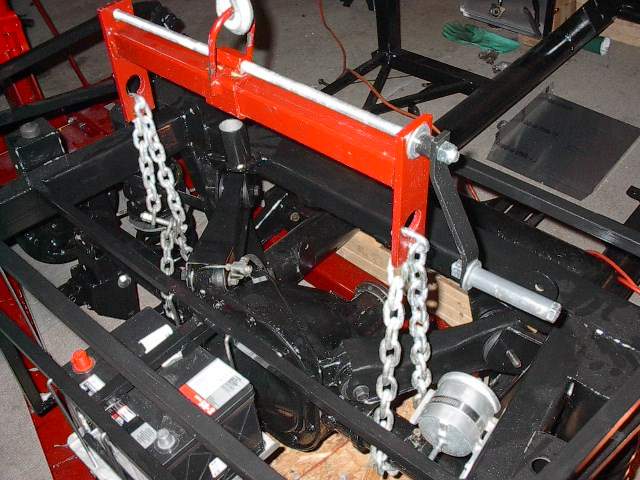
Believe it or not I installed the entire rearend by myself. I used a dolly to roll it under the frame and then used my engine hoist to lift it into place through the top of the frame. I think that regardless of the amount of help you have, it is still a pain in the butt to get the control arms to line up and fit into the frame!
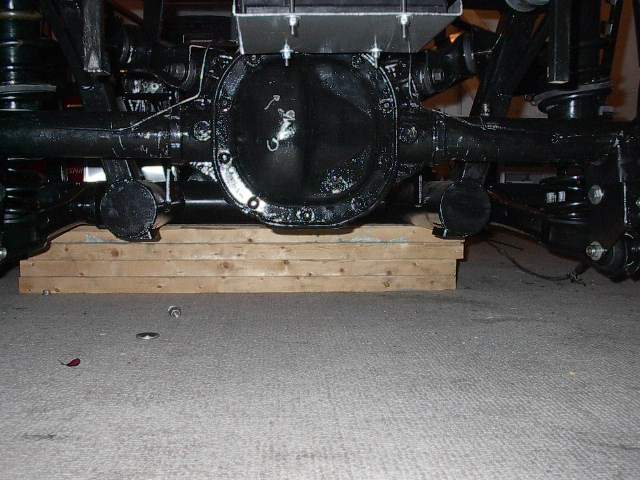
I did manage to scratch the nice new paint job that I just did on the rear end. Nothing a litlle touch up paint can't fix. I was just happy that everything was in!
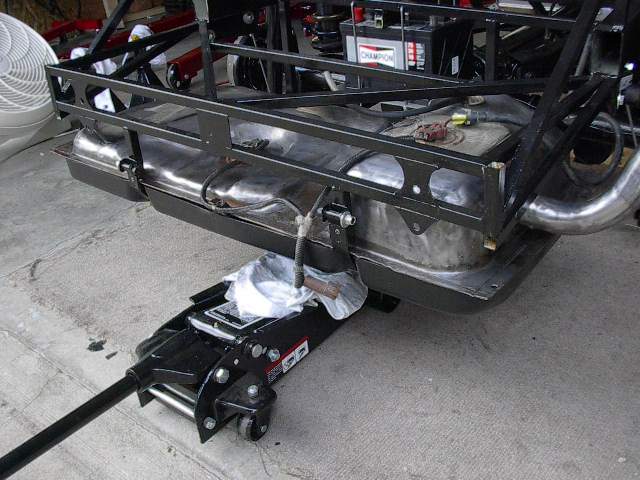
Gas Tank Installation
I also installed this by myself. This would have been much easier with some help.